How to Highlight the Current Page Link in Astro

Written by Kolade Chris | Oct 19, 2024 | #Astro #JavaScript | 3 minutes Read
Highlighting the current page on any website can improve the overall user experience because the user gets to know which page they are by looking at the navbar.
A popular and one of many ways to do this is to get the current pathname and style the navlink based on that.
Astro has a built-in way for you to get the current pathname, making the problem half-solved.
So, let’s look at how to get access to the current page pathname and use that to highlight the current page link.
The Astro Built-in Current Page Link Highlight
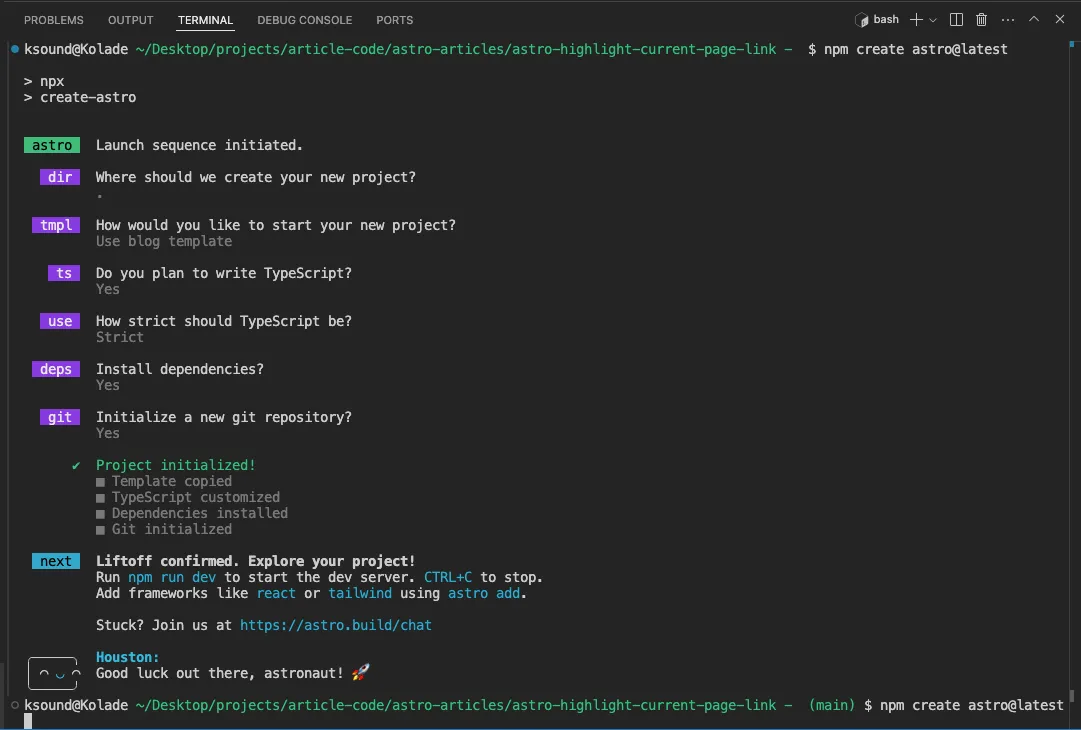
To get started, I’ve installed a brand new Astro project using the blog template.
These are the choices I made in the prompts after running npm create astro@latest in the terminal
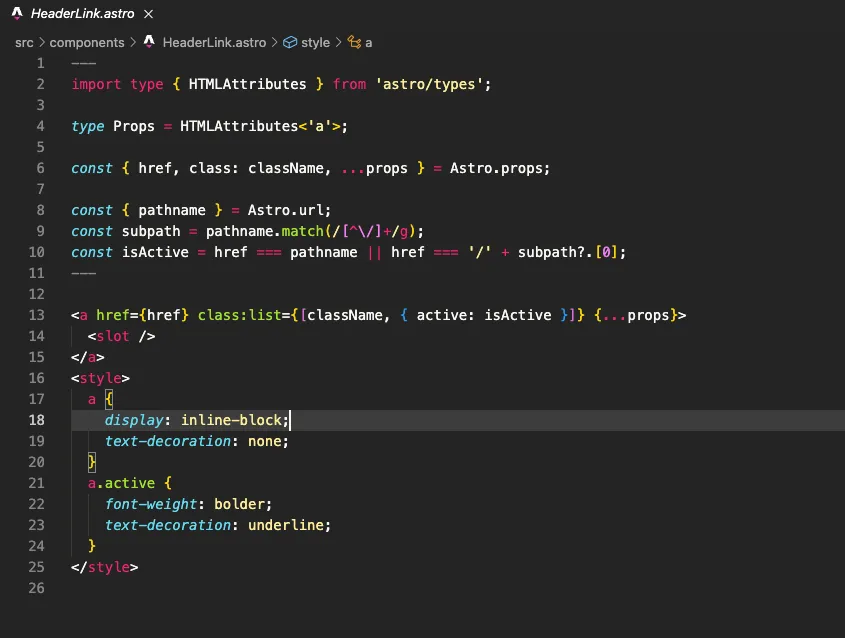
Here’s the navigation bar that comes with the installation:

As you can see, the installation already has that feature in it through a HeaderLink component. Here’s that code:
Here’s how it was used to implement the feature:
<HeaderLink href="/">Home</HeaderLink><HeaderLink href="/blog">Blog</HeaderLink><HeaderLink href="/about">About</HeaderLink>How to Highlight the Current Page Link in Astro
I’ll delete the HeaderLink component file and reimplement the feature with a different style of navbar. This approach will be way simpler and more understandable than the built-in.
Here’s what I have inside the components/Header.astro:
<ul class="internal-links"> <li><a href="/">Home</a></li> <li><a href="/blog">Blog</a></li> <li><a href="/about">About</a></li></ul>I will also create extra services and contact pages. So the updated navbar code will be this:
<ul class="internal-links"> <li><a href="/">Home</a></li> <li><a href="/blog">Blog</a></li> <li><a href="/about">About</a></li> <li><a href="/services">Services</a></li> <li><a href="/contact">Contact</a></li></ul>I will also add some extra styles to the style tag in the Header.astro file
nav ul { display: flex; list-style-type: none; gap: 1rem;}Here’s what the navbar and navlinks look like now:

The next thing to do is to access pathname property from the Astro built-in Astro.url object inside the codefence of the Header.astro file. This way, you get access to the path portion of the current URL, starting with a forward slash (’/’).
const pathname = Astro.url.pathname;If you log the pathname variable to the console and visit the pages on the website, you get to see the pathnames of the pages in lowercase starting with the forward slash:
const pathname = Astro.url.pathname;console.log(pathname);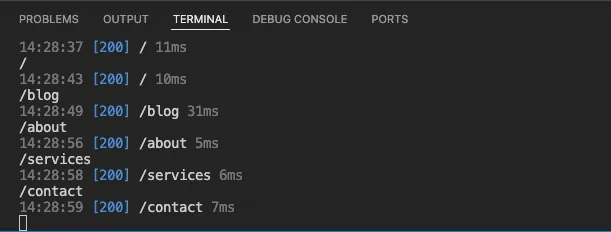
Now you can style the navlinks with that pathname.
To do that, you can use a conditional to dynamically apply a class to each item of the navbar with the pathname variable
<li><a href="/" class={pathname === "/" ? "active" : ""}>Home</a></li><li><a href="/blog" class={pathname === "/blog" ? "active" : ""}>Blog</a></li><li><a href="/about" class={pathname === "/about" ? "active" : ""}>About</a></li><li><a href="/services" class={pathname === "/services" ? "active" : ""}>Services</a></li><li><a href="/contact" class={pathname === "/contact" ? "active" : ""}>Contact</a></li>With this, once the user hits any of the pages, the class active is applied to the navlink of that page.
There’s already a style for that in the Astro blog template:
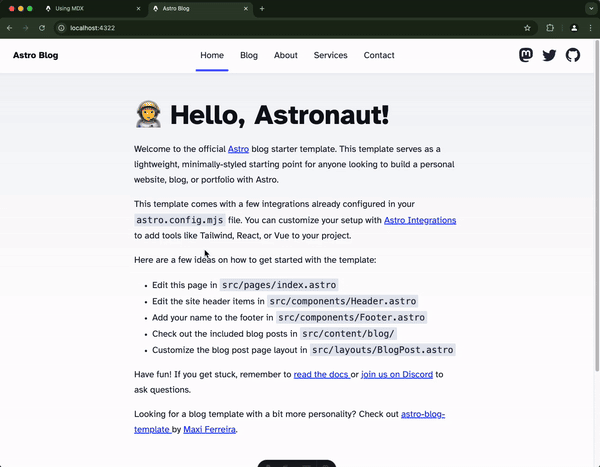
nav a.active { text-decoration: none; border-bottom-color: var(--accent);}Here’s the result in the browser
That’s how you can highlight the current page link in Astro! YOu can grab the final code in this GitHub repo.
Check out a similar article on how to highlight the current page link in Next.js.